Follow the steps below to create a page using the basic page template.
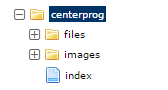
- Select your site folder.
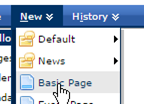
- Choose New > Basic Page
- Give the page a name with no spaces, no punctuation, and no special characters except for a dash or underscore. If it is the home page of your site, it should be named index

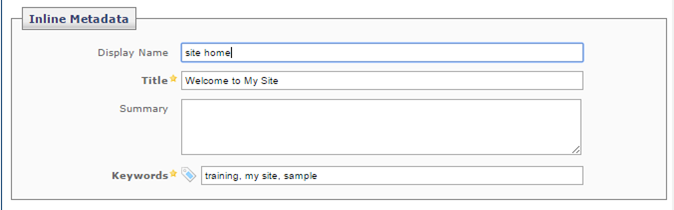
- Enter Metadata. This is information about the page that is used in different areas. Title and keywords are required.
- Choose whether to display social icons or not and whether or not to display a banner or slide show.

- If you are adding an image, use the icon opposite Banner Image to select the image you would like to use from your images folder.

- Select the image and click confirm.
- The image name and location will appear in the New Page window.

- Add a Banner Image Alt in the space under the image. This is text that is used to read a description of the image to those who are unable to view the image.

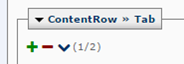
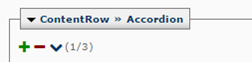
- Add one or more content rows and select the type of content you wish to add to each row.

- To add additional rows, click the green plus sign.
- For the tab and accordion features, there will be a combination of a green plus and a red minus to add/delete more of the same feature.
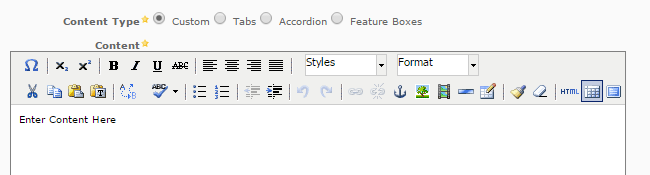
- For the feature box you will be able to select 1 or 2:

- The Custom option will allow you to use the WYSIWYG (What you see is what you get) tools to add features described in the tutorial on editing content.
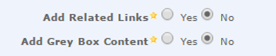
- Related Links and Grey Box Content are features that can be added at the bottom of the page.
- You can also add a Sidebar with Related Links. Those will display on the right side of the page.
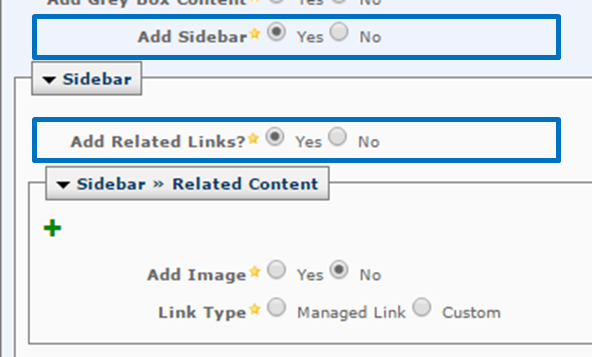
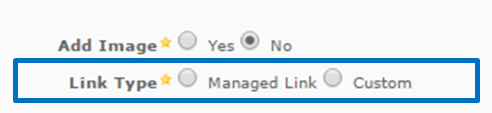
- To add a Related Link to the sidebar, first click Yes opposite Add Sidebar. Then click Yes to add Related Links.
- The Link Type can be either a Managed Link (inside the site) or Custom (external link).
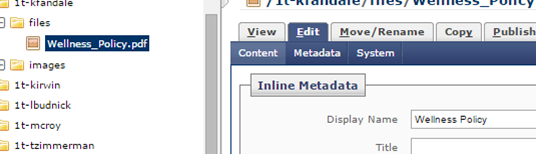
- For a Managed Link (an internal link to a page already within the site) you would use the icon to search for (and select) a page or file inside the site.

The Display Name for the file is what will be used as the text for the link. If you need to change the display name for a file, you can select the file and use the Edit button to change the display name.
- For a Custom Link, which is an external link, you will add the title and URL of the site you wish to link to.

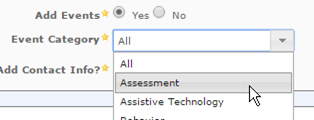
- You can add event by category to your sidebar.
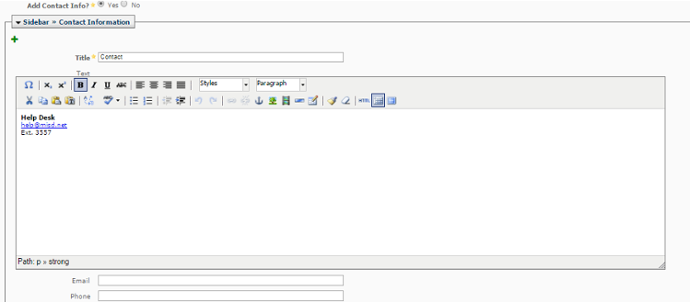
- You can also add contact information to the sidebar.
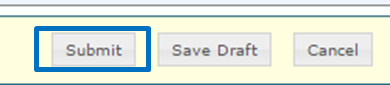
- When the page is complete, select the Submit button.
- You will be taken through a spell check screen. There may be some codes that are listed which you can ignore (ignoring a suggested change is the default option).
- If you accidentally leave the page without submitting first, choose the Home link and the Drafts tab.
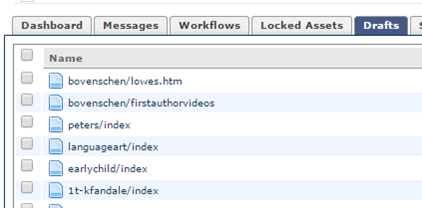
- Select the draft page you wish to work on. Click Submit Draft in the upper right corner.
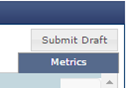
- That will return you to the edit screen.
- Any required fields that are not filled in will be shown as outlined in red with red text underneath.

- The Content button will also appear in red.
